Using Hermes
Hermes is an open-source JavaScript engine optimized for React Native. For many apps, enabling Hermes will result in improved start-up time, decreased memory usage, and smaller app size. At this time Hermes is an opt-in React Native feature, and this guide explains how to enable it.
First, ensure you're using at least version 0.60.4 of React Native.
If you have an existing app based on an earlier version of React Native, you will have to upgrade it first. See Upgrading to new React Native Versions for how to do this. After upgrading the app, make sure everything works before trying to switch to Hermes.
Each Hermes release is aimed at a specific RN version. The rule of thumb is to always follow Hermes releases strictly. Version mismatch can result in instant crash of your apps in the worst case scenario.
Hermes requires Microsoft Visual C++ 2015 Redistributable.
Enabling Hermes
Android
Edit your android/app/build.gradle file and make the change illustrated below:
  project.ext.react = [
      entryFile: "index.js",
-     enableHermes: false  // clean and rebuild if changing
+     enableHermes: true  // clean and rebuild if changing
  ]
Also, if you're using ProGuard, you will need to add these rules in proguard-rules.pro :
-keep class com.facebook.hermes.unicode.** { *; }
-keep class com.facebook.jni.** { *; }
Next, if you've already built your app at least once, clean the build:
$ cd android && ./gradlew clean
That's it! You should now be able to develop and deploy your app as usual:
$ npx react-native run-android
Android app bundles are supported from React Native 0.62 and up.
iOS
Since React Native 0.64, Hermes also runs on iOS. To enable Hermes for iOS, edit your ios/Podfile file and make the change illustrated below:
   use_react_native!(
     :path => config[:reactNativePath],
     # to enable hermes on iOS, change `false` to `true` and then install pods
     # By default, Hermes is disabled on Old Architecture, and enabled on New Architecture.
     # You can enable/disable it manually by replacing `flags[:hermes_enabled]` with `true` or `false`.
-    :hermes_enabled => flags[:hermes_enabled],
+    :hermes_enabled => true
   )
By default, you will be using Hermes if you're on the New Architecture. By specifying a value such
as true or false you can enable/disable Hermes as you wish.
Once you've configured it, you can install the Hermes pods with:
$ cd ios && pod install
Note for Mac M1 users
Mac M1 architecture is not directly compatible with Cocoapods. If you encounter issues when installing pods, you can solve it by running:
sudo arch -x86_64 gem install ffiarch -x86_64 pod install
These commands install the ffi package, to load dynamically-linked libraries and let you run the pod install properly, and runs pod install with the proper architecture.
That's it! You should now be able to develop and deploy your app as usual:
$ npx react-native run-ios
Confirming Hermes is in use
If you've recently created a new app from scratch, you should see if Hermes is enabled in the welcome view:
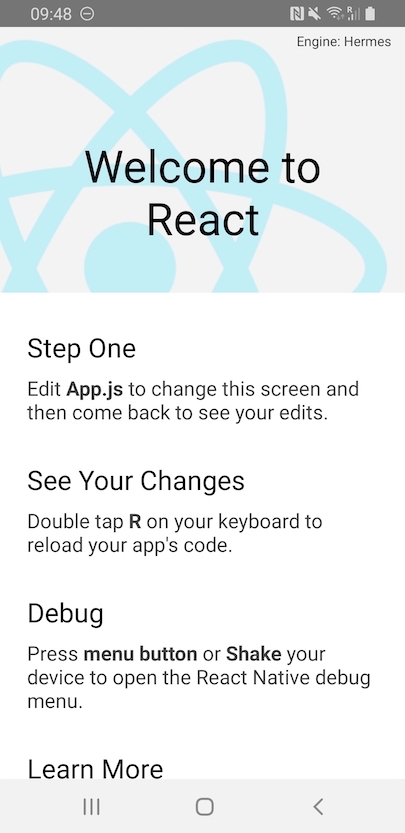
A HermesInternal global variable will be available in JavaScript that can be used to verify that Hermes is in use:
const isHermes = () => !!global.HermesInternal;
If you are using a non-standard way of loading the JS bundle, it is possible that the HermesInternal variable is available but you aren't using the highly optimised pre-compiled bytecode.
Confirm that you are using the .hbc file and also benchmark the before/after as detailed below.
To see the benefits of Hermes, try making a release build/deployment of your app to compare. For example:
$ npx react-native run-android --variant release
or for iOS:
$ npx react-native run-ios --configuration Release
This will compile JavaScript to bytecode during build time which will improve your app's startup speed on device.
Bundled Hermes
Starting with React Native 0.69.0, every version of React Native will come with a bundled version of Hermes. We will be building a version of Hermes for you whenever we release a new version of React Native. This will make sure you're consuming a version of Hermes which is fully compatible with the version of React Native you're using.
Historically, we had problems with matching versions of Hermes with versions of React Native. This fully eliminates this problem, and offers users a JS engine that is compatible with the specific React Native version.
This change is fully transparent to users of React Native. You can still enable/disable Hermes using the command described in this page. You can read more about the technical implementation on this page.
Debugging JS on Hermes using Google Chrome's DevTools
Hermes supports the Chrome debugger by implementing the Chrome inspector protocol. This means Chrome's tools can be used to directly debug JavaScript running on Hermes, on an emulator or on a real, physical, device.
Note that this is very different with the "Remote JS Debugging" from the In-App Developer Menu documented in the Debugging section, which actually runs the JS code on Chrome's V8 on your development machine (laptop or desktop).
Chrome connects to Hermes running on device via Metro, so you'll need to know where Metro is listening. Typically this will be on localhost:8081, but this is configurable. When running yarn start the address is written to stdout on startup.
Once you know where the Metro server is listening, you can connect with Chrome using the following steps:
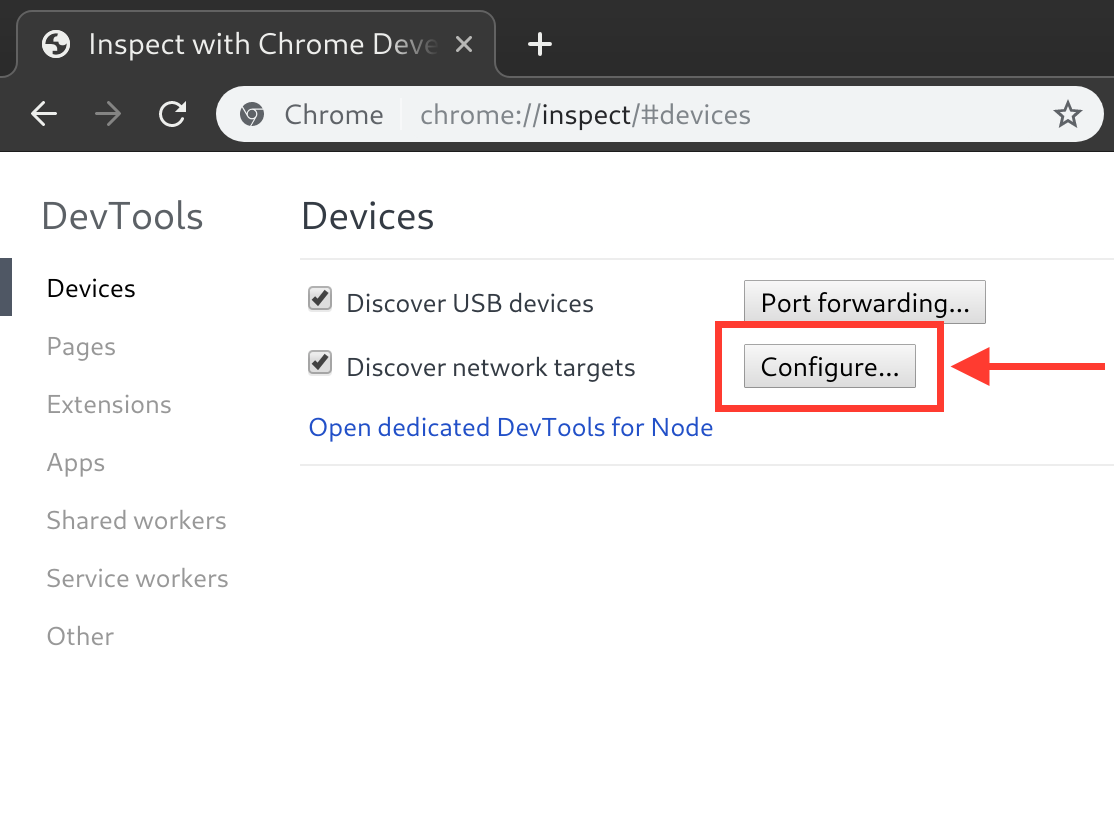
Navigate to
chrome://inspectin a Chrome browser instance.Use the
Configure...button to add the Metro server address (typicallylocalhost:8081as described above).
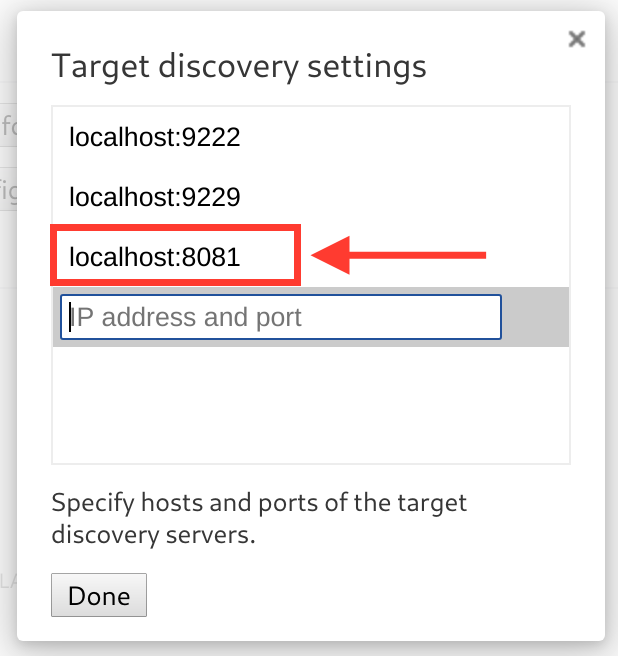
You should now see a "Hermes React Native" target with an "inspect" link which can be used to bring up debugger. If you don't see the "inspect" link, make sure the Metro server is running.
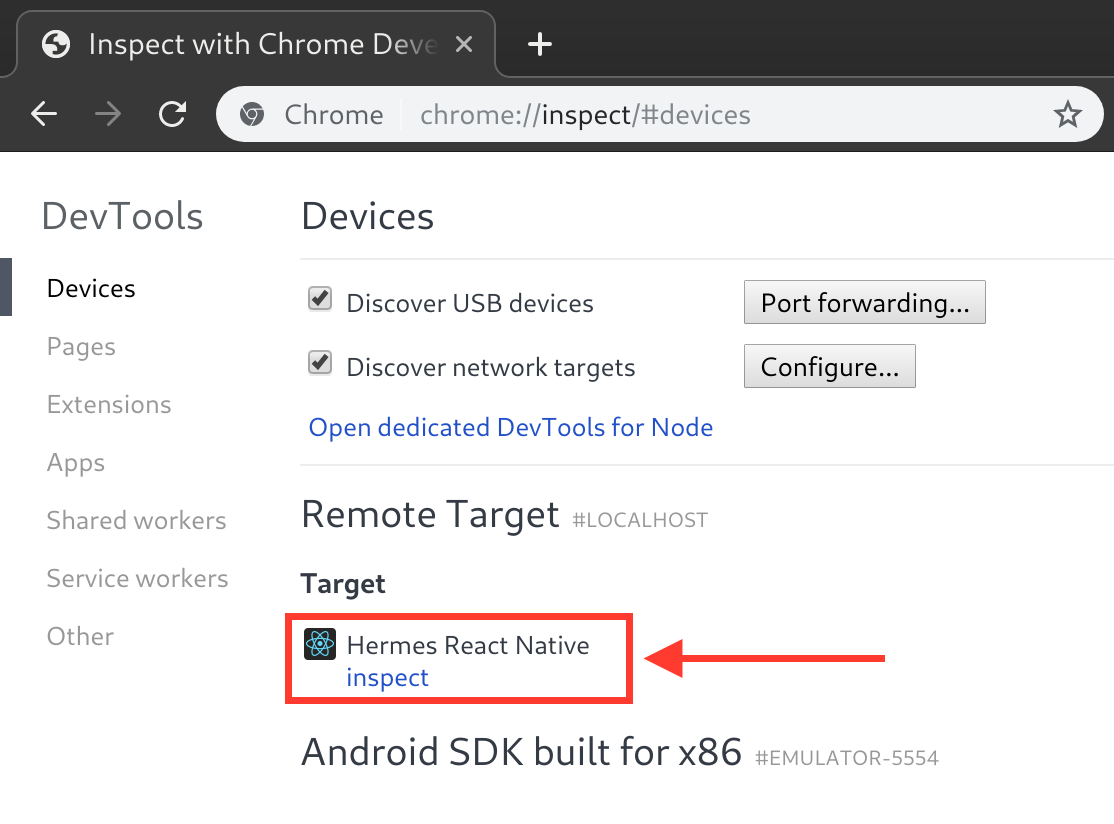
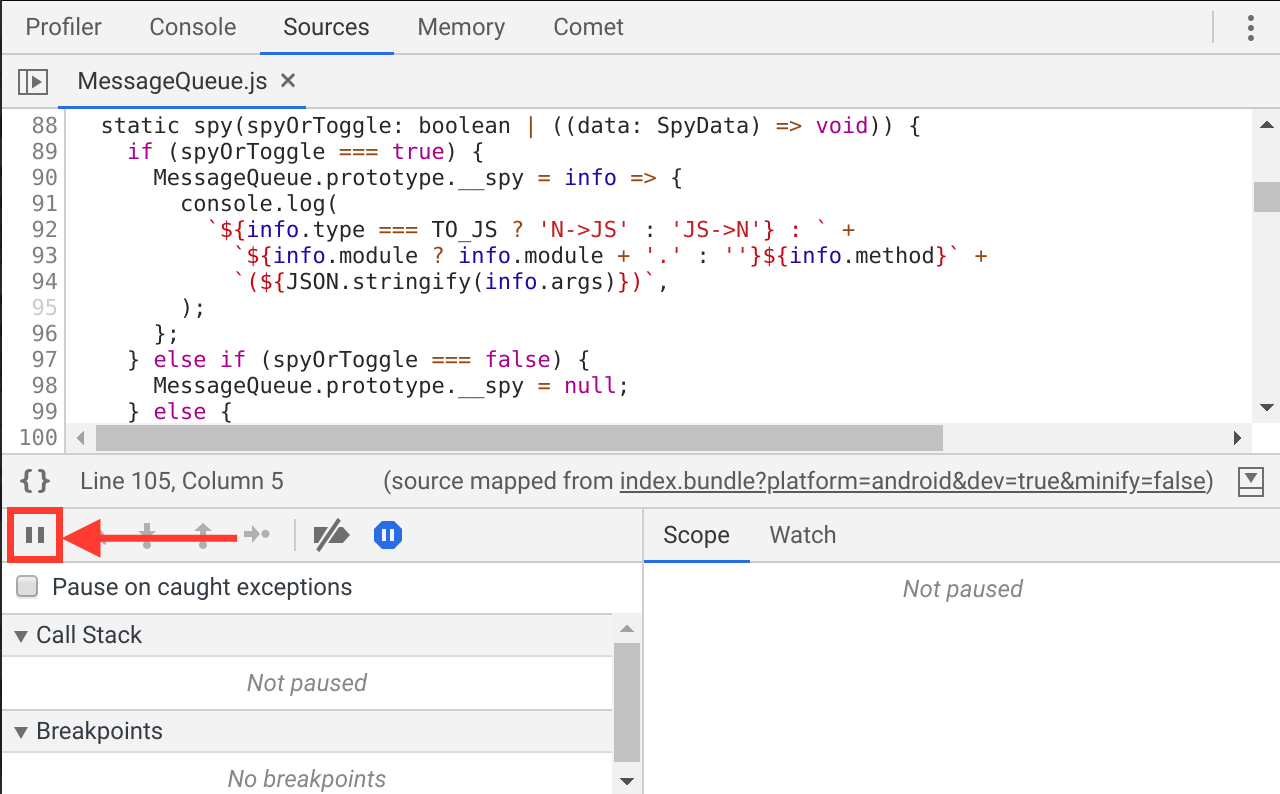
You can now use the Chrome debug tools. For example, to breakpoint the next time some JavaScript is run, click on the pause button and trigger an action in your app which would cause JavaScript to execute.
